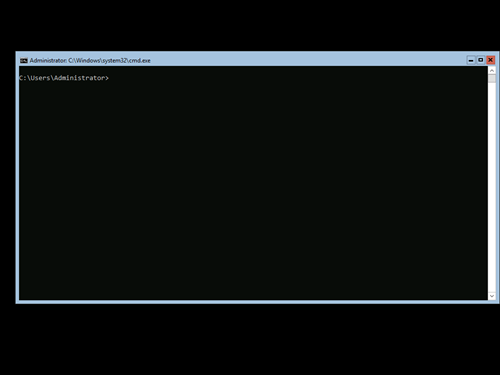
How to install Windows Server 2019 as Server Core
In this blogpost, I’ll show how to install Windows Server 2019 as Server Core.
These steps can be used to create a reference installation for use on your organization’s virtualization platform, to speed up Windows Server deployments.
Microsoft released Windows Server 2019 in early October 2018, but retracted the Operating System a few days later due to quality issues. On November 2nd, 2018, Microsoft rereleased Windows Server 2019 build 10.0.17763.1 to Volume License customers and MSDN subscribers.
Windows Server 2019 is the operating system that bridges on-premises environments with Azure services enabling hybrid scenarios and maximizing existing investments. Windows Server 2019 was designed to enable Developers and IT Pros to create cloud native and modernize their traditional apps using containers and micro-services. Windows Server 2019 comes with two installation options, the full Desktop Experience, and the Server Core option that omits the GUI for a smaller OS footprint.
Installation consists of four steps:
- Download the media
- Create installation media
- Start the installation
- Login for the first time
Download the media
The first step is to download the bits. You have the choice between downloading the Windows Server ISO file for production use, or downloading the Windows Server ISO file for test and evaluation use.
Production use
For production use, this step requires you to log in with a subscriber account with an active MSDN subscription on msdn.microsoft.com or with an account to the Volume Licensing Service Center (VLSC) website. Signing in can be done in the top right corner of the website. When logged in, use the Downloads and Product Keys link in the Subscriptions side panel.
You can download the RTM bits, or download installation files that have been updated alongside the Semi-Annual Channel (SAC) releases with the corresponding Windows Server cumulative update. At this point in time, there are installation files available that have been updated in March 2019 and August 2019, corresponding to the Windows Server version 1903 and Windows Server version 1909 releases.
Note:
Updated versions of Windows Server 2019 do not offer the new functionality offered in the SAC releases of Windows Server.
Test and Evaluation use
Windows Server 2019 is available in the Microsoft Evaluation Center as an evaluation version that is functional for 180 days.
Note:
When you complete your evaluation, you can convert your evaluation versions to retail.
Follow these steps to download the installation media:
-
- In the Start your evaluation file type: dialog, select ISO.
- Click Continue.
- Enter the required information; First name, last name, company name, company size, job title, work email address, work phone number and country. These are all required fields.
- The Yes option to receive information, tips and offers about Microsoft products and services is enabled, by default. You are not required to do so, and you can uncheck this option if you want to.
- Click Continue.
- In the Please select your language: dialog, select the language you’d want to evaluate Windows Server 2019 in. Your choices are Chinese (Simplified), English, French, German, Italian, Japanese, Russian and Spanish.
- Click Download.
Clicking one of the Download buttons will trigger the download of the installation file. Your download will safely come down from the download server and all you have to do is wait a little while. (or a little longer, when you have limited network bandwidth…)
In addition to the installation files, you can download new Feature on Demand (FoD) media for Server Core installations; the App Compatibility FoD. This FoD contains additional features from the Desktop Experience to improve the compatibility of Server Core for apps and tools used for troubleshooting and debugging.
Create installation media
After you’ve completed the download, you end up with an *.iso file. This is the standard file format for CD and DVD media.
Creating a Bootable DVD
To convert the ISO file into a bootable DVD, you need to burn the ISO file to a blank DVD-R or DVD-RW. If the box you’ve downloaded the Developer Preview on, is running Windows XP or Windows Vista, you’ll need a tool to burn. In Windows 7, Windows 8.x and Windows 10, the ability to burn the ISO file to a blank DVD-R or DVD-RW is built into the Operating System. Follow these steps:
- Insert an empty DVD-R or DVD-RW disk in the drive
- Select the downloaded *.iso file
- Right-click the file and select Burn disc image from the context menu.
The Windows Disc Image Burner window opens. - Select the correct drive letter from the Disc burner: drop-down menu.
- Click the Burn button.
When the installation media is complete, the DVD will eject from the drive and the Status description will read The disc image has been successfully burned to disc.
Creating a Bootable USB drive
You can use the ISO file of Windows Server 2019 to create a bootable USB drive too.
For this scenario you need to create a bootable DVD first or mount the ISO file. As Server Core installations require quite a bit of tinkering on the command line, let’s make ourselves comfortable with it and create a bootable USB drive on the command line, too. Simply type the following commands on a system with the image mounted or physical DVD copy in the drive and the USB device plugged in:
diskpart.exe
DISKPART> list disk
Select the USB device from the list and substitute the disk number below when necessary
DISKPART> select disk 1
DISKPART> clean
DISKPART> create partition primary
DISKPART> select partition 1
DISKPART> active
DISKPART> format fs=fat32
DISKPART> assign
DISKPART> exit
X:
cd boot
bootsect /nt60 Y:
xcopy X:\*.* /s/e/fY:\
Where X:\ is your mounted image or physical DVD and Y:\ is your USB device.
exit
Start the installation
Now all you need to do is plug the USB drive into your target box’ USB slot or your DVD disc in your DVD drive and boot the box.
Note:
The target system will need to be able to boot from DVD or USB devices to perform an installation.
The system on which you want to install Windows Server 2019 needs to meet the following requirements:
- At least one 1.4 GHz x64 processor (or higher speed), that supports NX, DEP, CMPXCHG16b, LAHF/SAHF, PrefetchW and Second Level Address Translation (EPT or NPT).
- At least 512 MB RAM
- At least 32GB of available disk space
- At least one Ethernet adapter capable of at least gigabit throughput
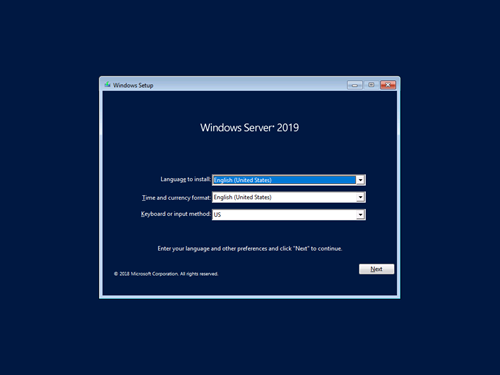
After you’ve booted from the installation media, the Windows Setup wizard appears:
The first screen you’ll notice, features some Regional Settings. You can change the Time and currency format and the Keyboard or input method settings. Press Next when done to advance to the next screen of the Windows Setup wizard.
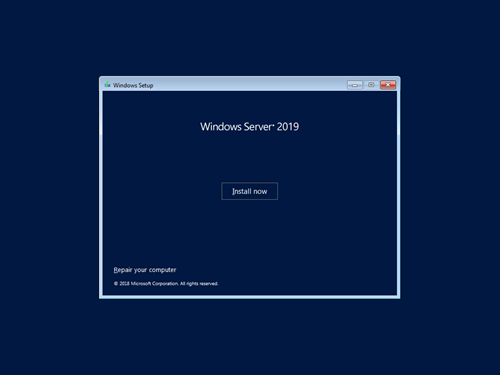
If you feel like testing your RAM you could choose to Repair your computer in this screen. If you trust the hardware and feel like you have nothing to lose, click the Install now button.
When using ‘retail’ media to install Windows Server 2019, you may encounter the above Activate Windows screen. Enter the product key and click Next, or click the I don’t have a product key link to advance to the next screen.
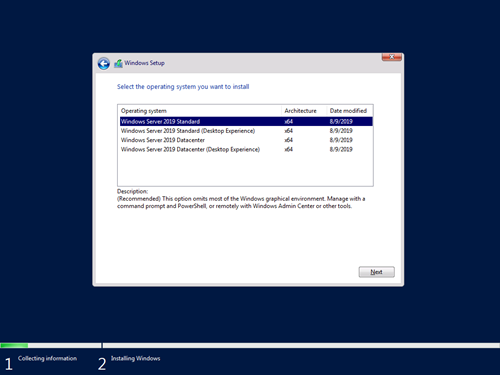
On the Select the operating system you want to install screen, you select how you want to install Windows Server 2019. This is a pivotal choice. The four options are:
- Windows Server 2019 Standard
- Windows Server 2019 Standard with Desktop Experience
- Windows Server 2019 Datacenter
- Windows Server 2019 Datacenter with Desktop Experience
The Datacenter edition is the most complete edition and includes the new Datacenter-specific features (Shielded Virtual Machines, Storage Spaces Direct, and Software-Defined Networking) in addition to unlimited server virtualization. However, it is more costly to license.
When done, press Next to advance to the next screen.
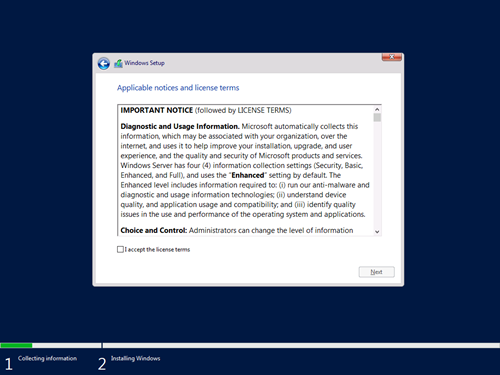
To continue installing, you need to accept the license terms on the Applicable notices and license terms screen. Nothing too fancy, when you’re fluent in Legalese. When you’re not (like most people) you can just check the I accept the license terms option and press Next to advance to the next screen of the Windows Setup wizard.
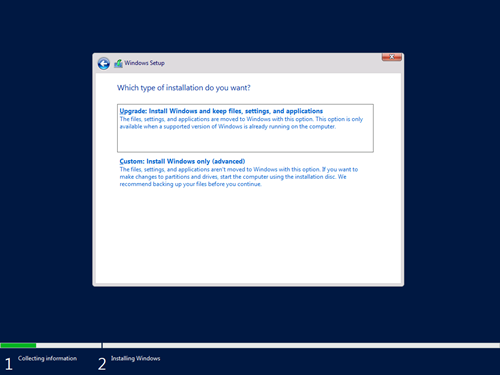
On the Which type of installation do you want? screen, select Custom: Install Windows only (advanced). This will advance you to the next screen, without upgrading any previously available Windows or Windows Server installation.
On the Where do you want to install Windows? screen, press Next to accept the default disk lay-out scenario in which Windows Setup will create basic volumes in the selected available Unallocated Space, format the volumes with NTFS and install Windows Server 2019.
When the storage in the box isn’t available, use the Load driver dialog to supply Windows Setup with the driver of the storage controller. Then, make the appropriate choices.
Use the New, Delete, Extend, and Format options to create a custom disk lay-out that is appropriate for the role of the Server Core installation. For instance, for a Server Core Domain Controller, reserve a disk mirror to store the Active Directory database, transaction logs and System Volume (SYSVOL).
Pres Next, when done.
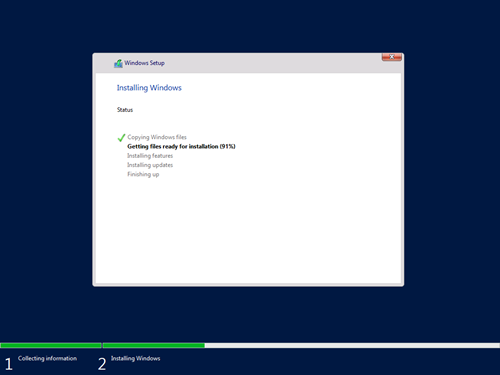
Windows Server 2019 will now be installed. The box will reboot twice.
Login for the first time
After installation, Windows Server 2019 boots into the Server Core logon screen:
Note:
If you wait for longer than 5 minutes on the above screen, you will need to press the Ctrl, Alt and Del keys on the keyboard simultaneously to get to the above screen.
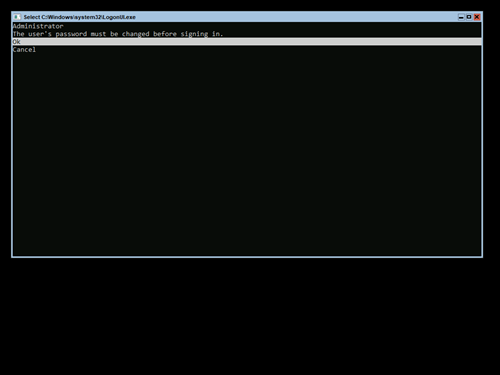
Press Enter to enter a password for the built-in Administrator account on the Server Core installation.
As the built-in Administrator account is the only available account on the Windows Server installation, its password will need to be set. It cannot be left blank. The password you enter must meet the complexity requirements.
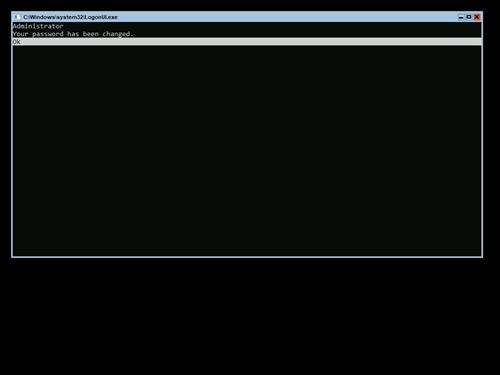
When the password meets the complexity requirements, it will be set.
Note:
The password for the built-in Administrator account will expire automatically after 42 days, at which time the password will need to be changed.
Windows Server 2019 is now successfully installed and you have successfully signed in as the built-in Administrator.
Concluding
The Windows Server installation can now be used to provide business value to your organization.
